Yay for diy projects: planter box!
There is something about diy projects that makes you feel accomplished. It may seem overwhelming during the prepping and planning process, but so good when it is complete! Another added plus to those diy projects is that they can help save money: budget-friendly! This planter box is is not only easy to build, but saves you money when it comes to having a nice and sturdy wood planter box.

Making sure you have everything.
The biggest thing to remember when planning those diy projects is to make sure you have everything you need before starting. Not fun to be in the middle of it and realize you need something to continue. Ugghhhh! So frustrating! So planning and prepping is one of the most important parts of diy projects, and very true for this planter box.

You don’t need much for these wood planter boxes, but you do need to make sure you have it all. This planter box can be changed up easily too! If you don’t want it is as large as this one, then take away from the measurements. Just make sure you do it to ALL the wood pieces.
Yay for flowers, even during the fall.
I know, I know. We are officially out of the summer and in the fall months. Here in Louisiana, we reach ‘fall’ status a little later. It is sometimes way later. There are flowers that are perfect for the fall though. Mums are my favorite flowering plant when it comes to the fall months. They don’t need a whole lot of attention to survive. They are great for shady areas and cooler temps. Plus, majority of the mums will contain beautiful ‘fall color’ flowers.
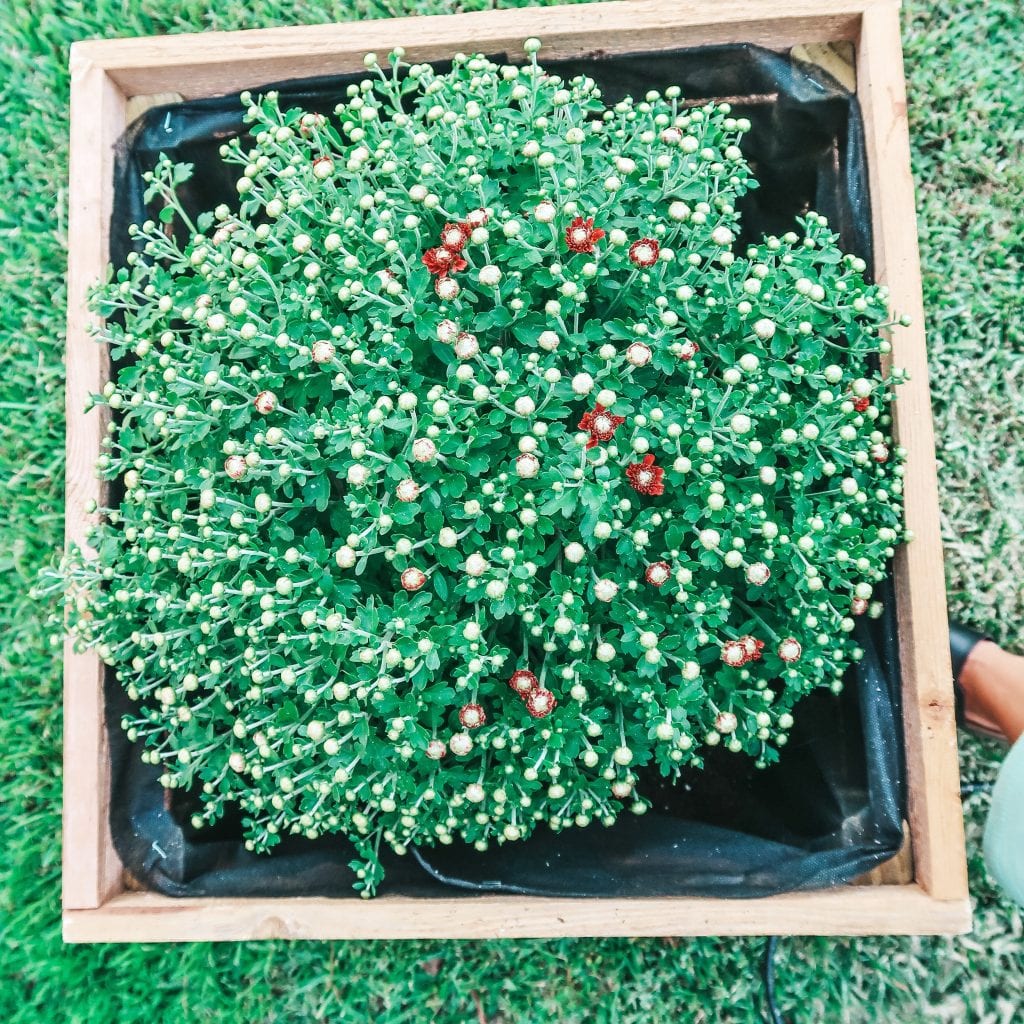
When purchasing your plant of choice, make sure that the planter will be placed in the area intended for the plant. If it needs sun, make sure the planter is located somewhere that will allow for the plant to receive ample amounts of sunlight to thrive. Just a little gardening tip for y’all.
Let’s get to building..
How to Build a Wood Planter Box

Building your very own wood planter box is not only easy, but budget-friendly. You can design it to fit your needs as well! See for yourself how easy this diy planter box is!
Materials
- 5, 1x4x8 pine wood
- 1, 2x2x8 pressure treated lumber brown deck baluster
- 1 5/8" galvanized nails
- Flower bed liner: Landscaping Fabric, ~3ft
- Staples
- Miniwax Wood Finish Oil-Based Stain Red Mahogany
- Potting Soil Mix
- Flower/Plant of choice
Tools
- tape measure
- pencil
- miter saw (if cutting the wood yourself)
- Hammer or nail gun
- Old rag or stain brush
- (Drill and 1 5/8" exterior screws if wanting that additional support)
Instructions
1. Gather all of the supplies needed for this diy project. We picked up all of ours at Lowe's! 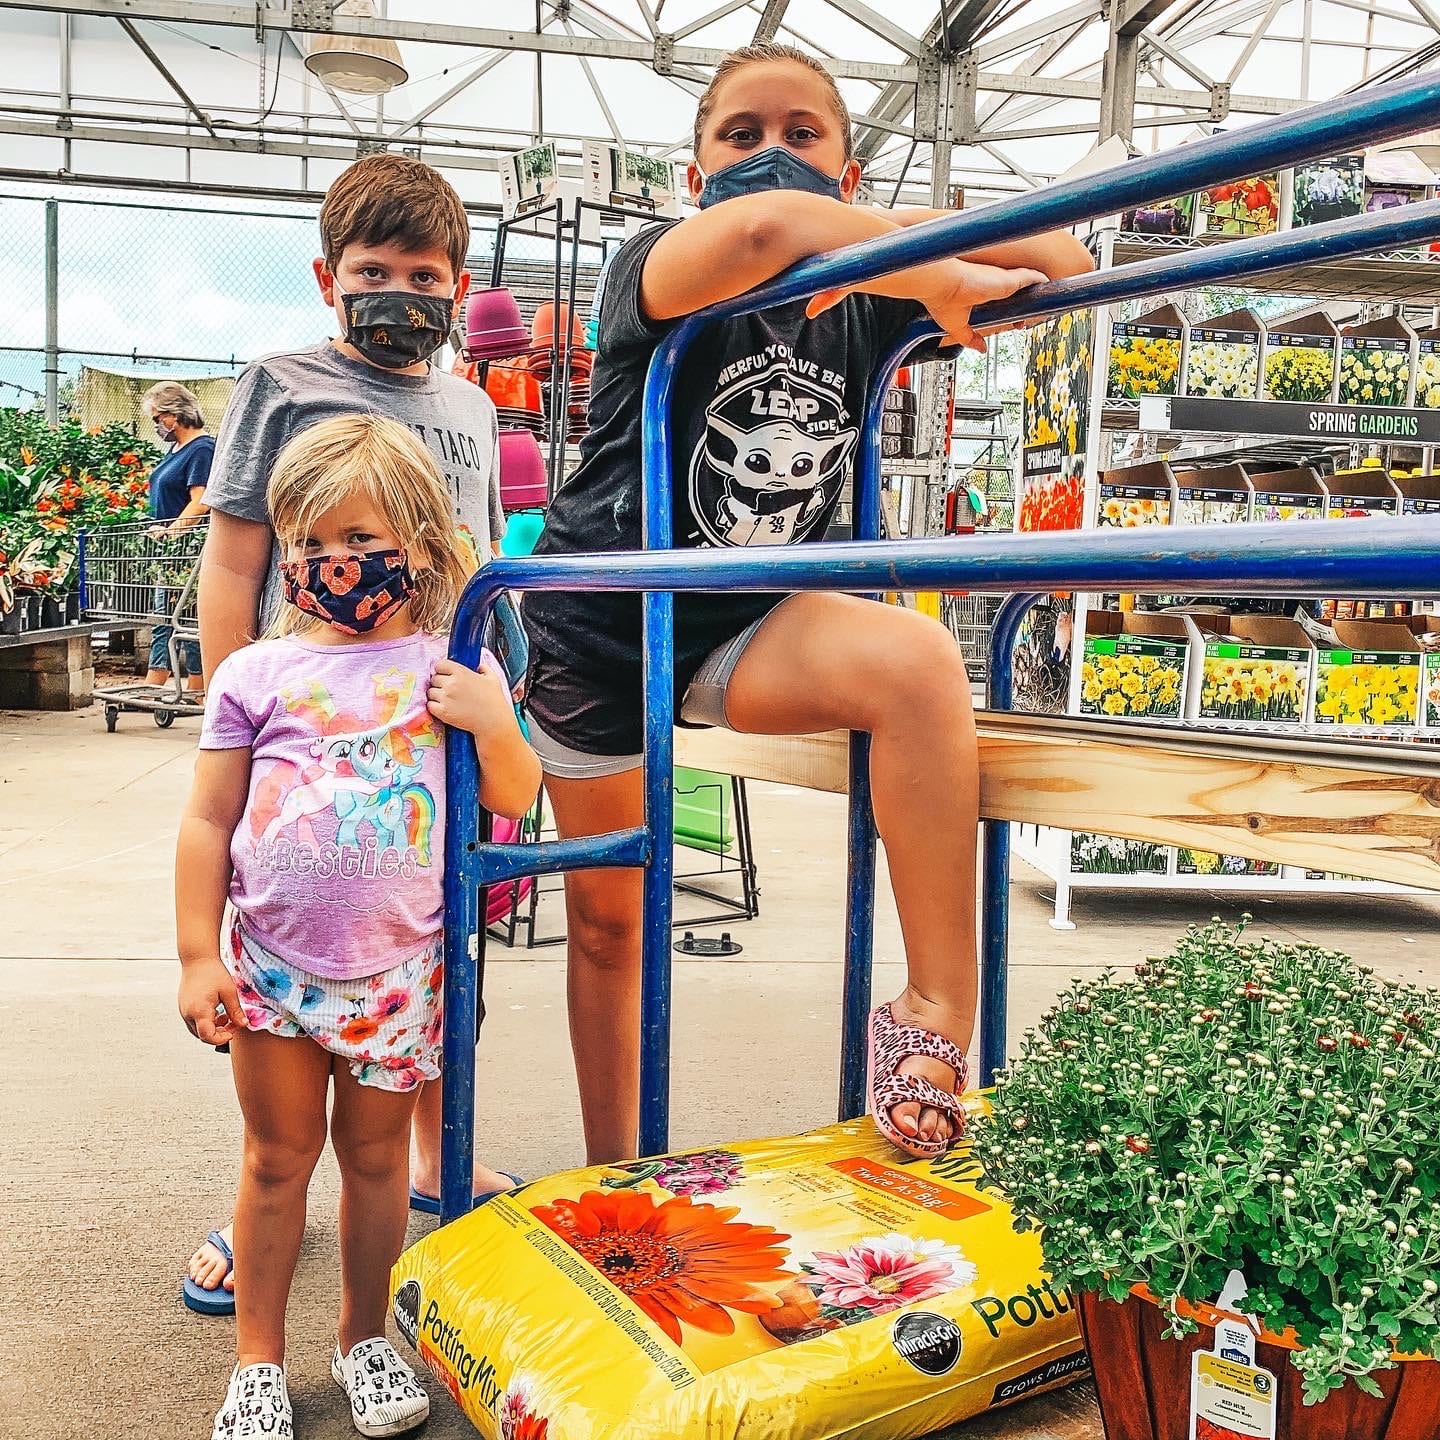
2. Prep the wood pieces by cutting them to the needed length. If you don't own a circular saw to do all the cutting on your own, Lowe's should be able to cut all your pieces! 
For the 5, 1x4x8's : cut 5, 19" pieces from each; you should end up with a total of 25 pieces.
For the 2x2x8 : cut into 4, 24" pieces. These will be the legs
3. Begin building the panels once you have all your wood cut. Using a nail gun or hammer, attach the 19" pieces to the legs, starting at the very top and working your way down, giving way to 1/2" spacing between each side piece. There will be a total of 5, 19" pieces for each side panel. 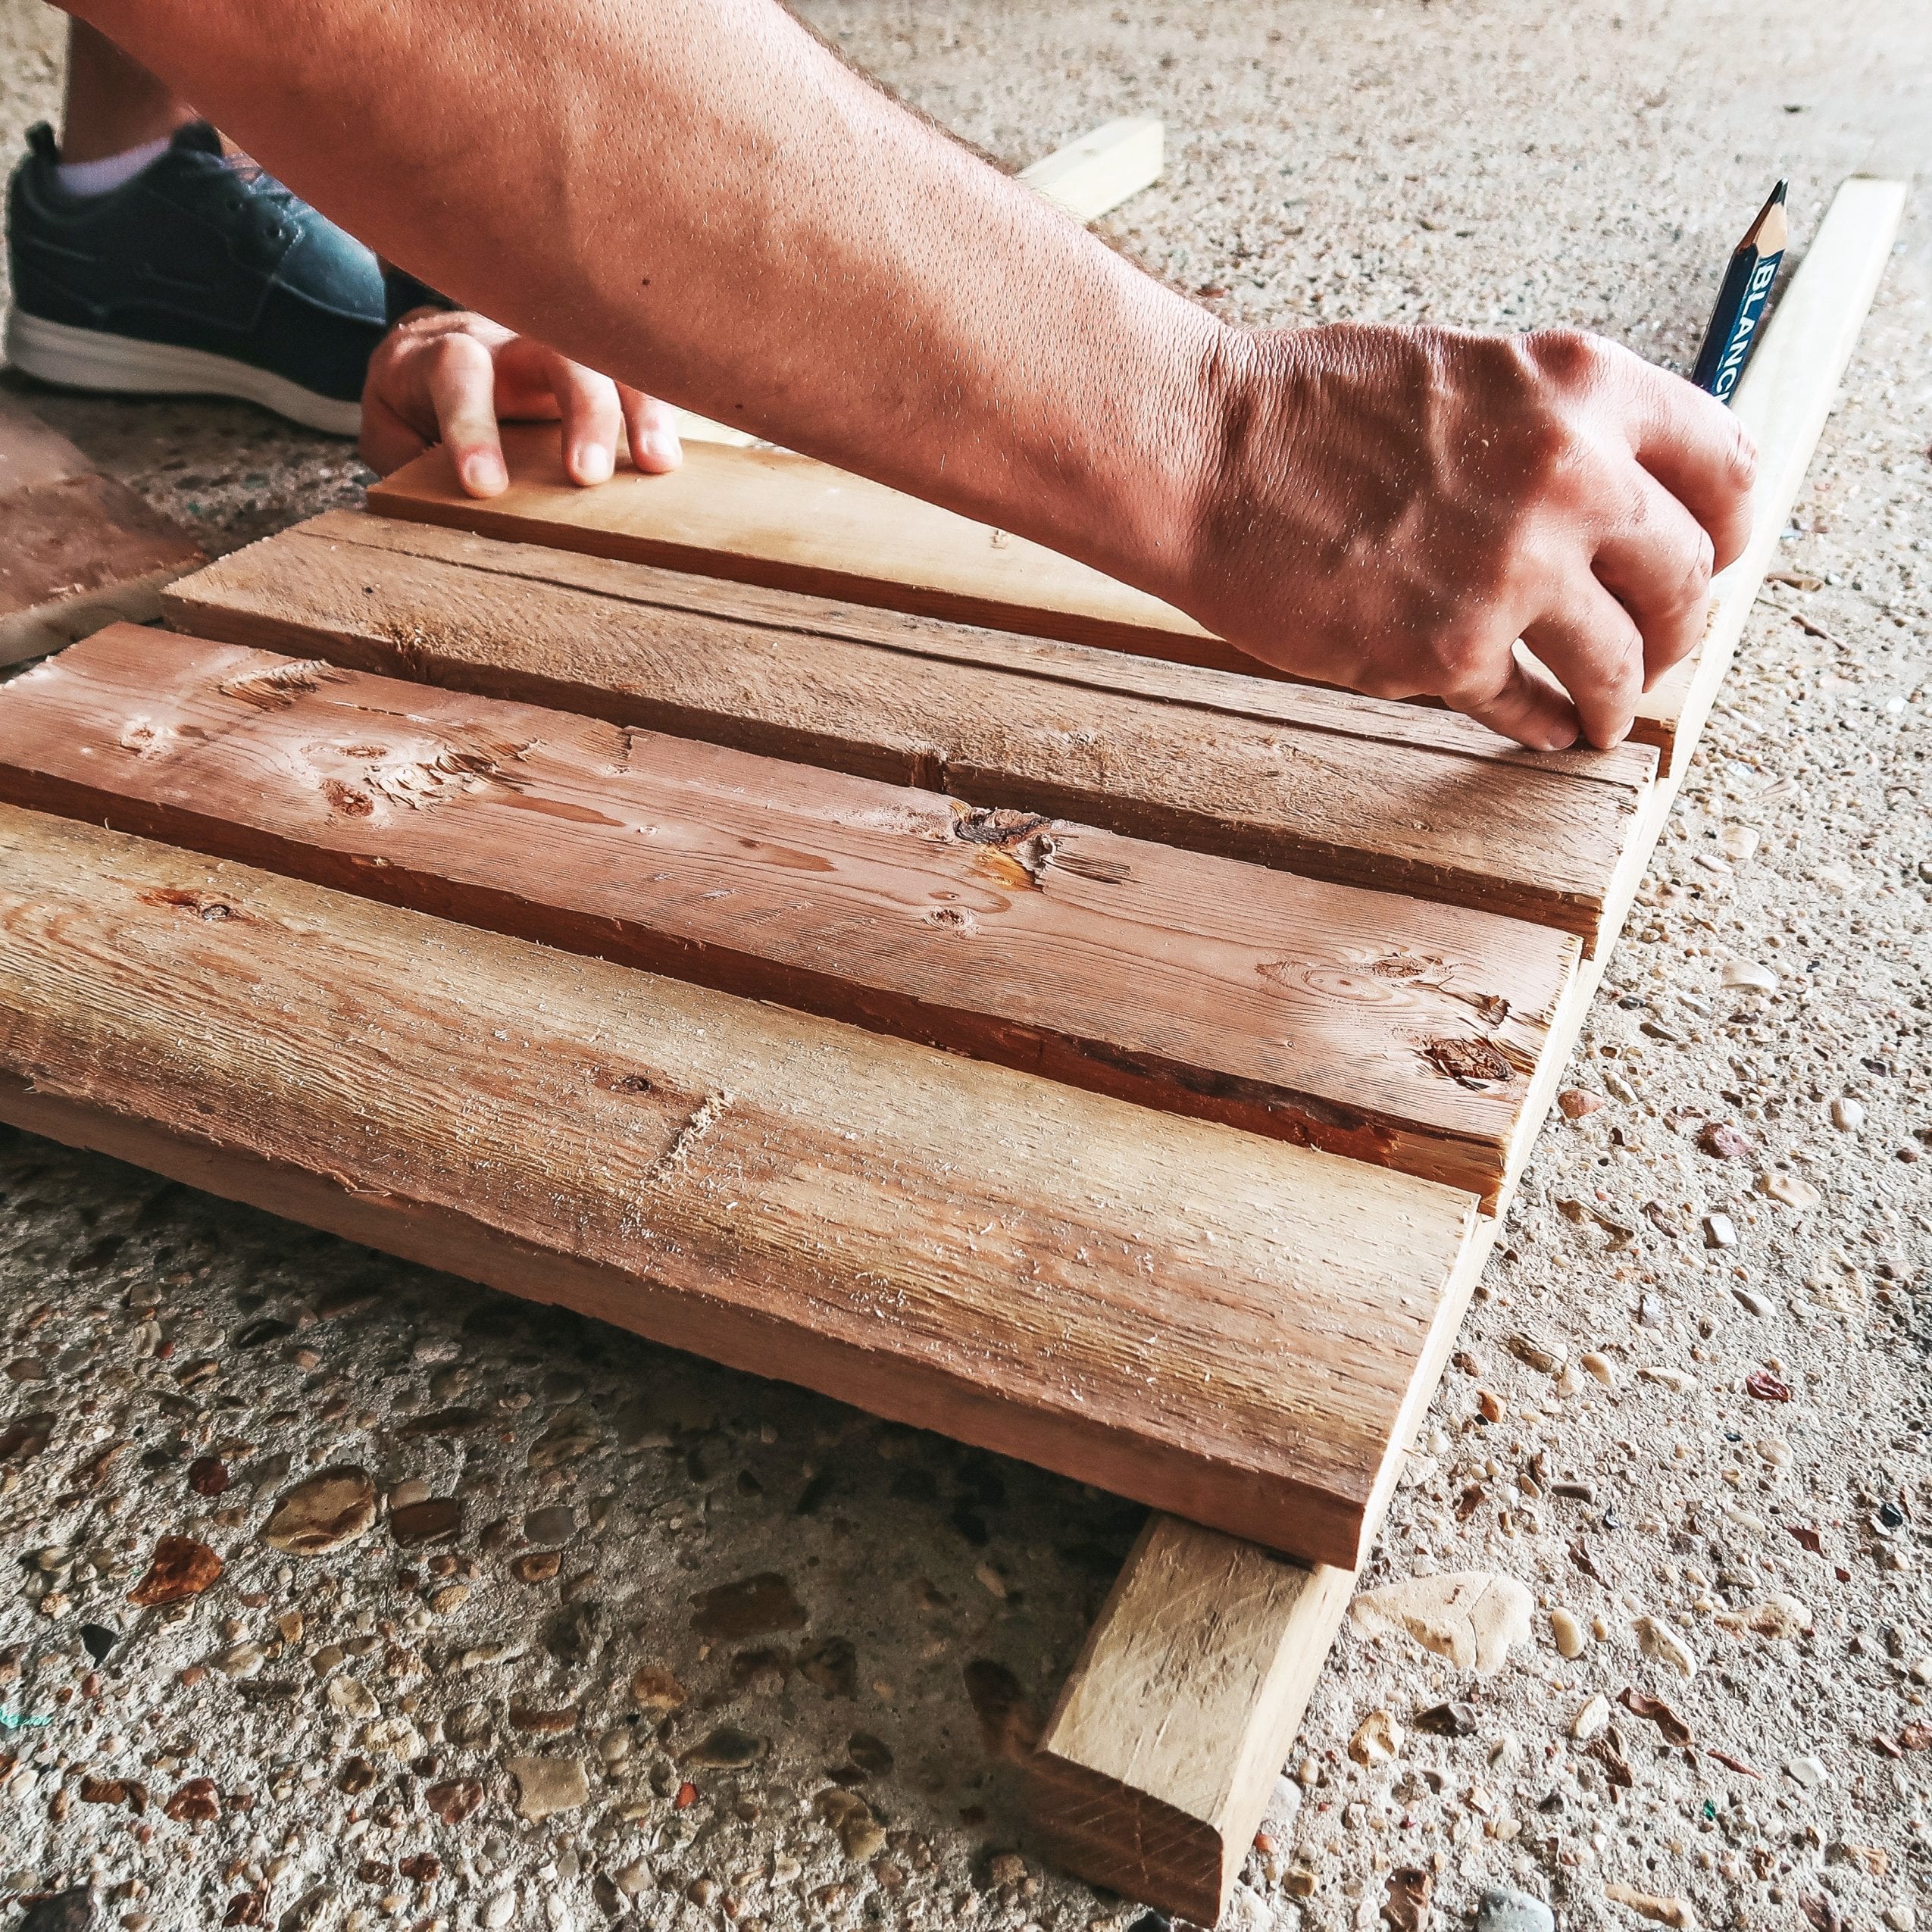
4. Once you have 2 side panels complete, connect them by attaching a 19" piece to the bottom, even with the existing side pieces.

5. Now that you have a box, you can add extra support to the floor by attaching 3 of the 19" pieces at the bottom. 
6. Ta'da'! You have built the planter box! Let's add the flower bed liner in the inside by stapling it in place. 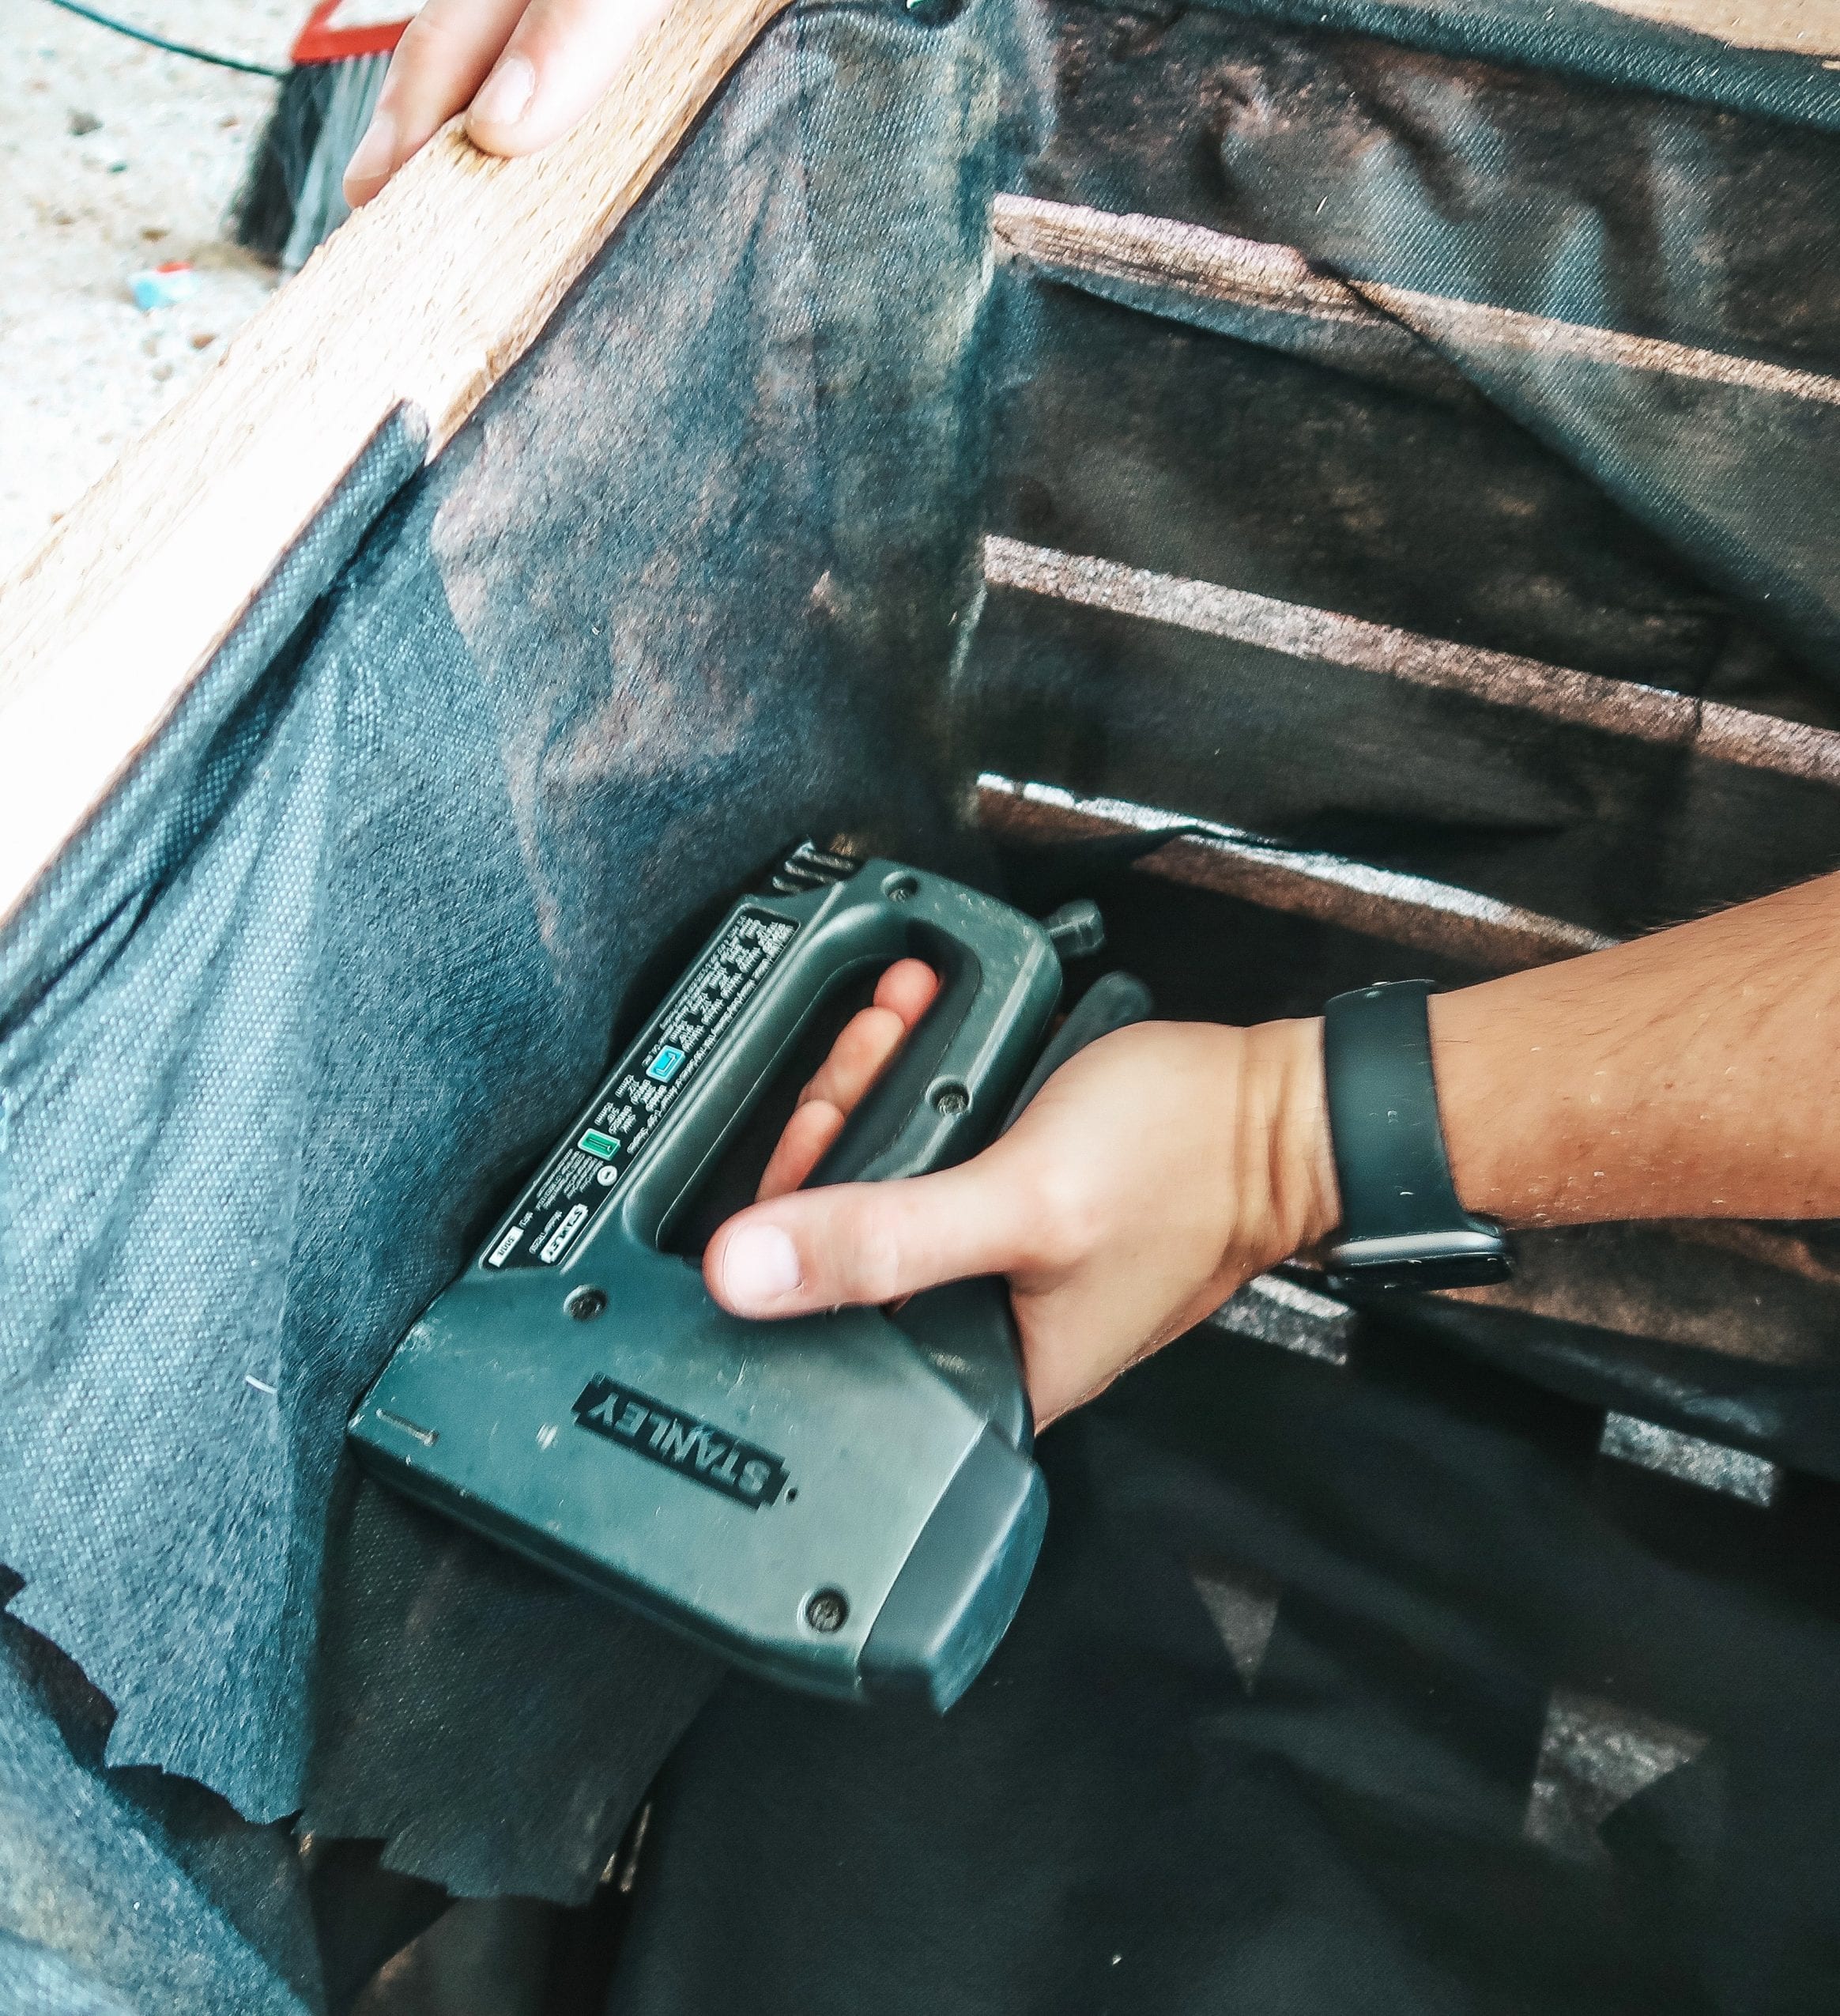
7. We wanted to darken the wood, so stained it. With a old rag or stain brush, apply the stain in an open and well ventilated area. Allow to dry for at least 2 hours.
8. After the stain has dried, add the potting soil mix and your flower/plant of choice! 
Notes
For added support, you can use 1 5/8" exterior screws along the sides.
Happy Fall Y’all!




 Skip to Instructions