What kid doesn’t love water and dirt? Well, we can take that love and mix it with some seeds to grow something even more exciting…a love for science, oh and a really cool plant! This is a step-by-step tutorial on how to make gardening both fun and educational for our kids.
Alright, my kids love water and dirt…let me rephrase that, they ABSOLUTELY LOVE water and dirt. Need something to keep my kids content for 15 minutes or even an hour?! Give them a water hose or even an oversized bucket full of water and dirt, good to go! My littlest one, Chloe, loves dirt so much she eats it. Ha! So you will see her enjoying this project on the sideline…of course she tried to sneak some dirt at one point.
I decided what better time than now to incorporate some science. A little gardening action while we enjoy this beautiful Louisiana weather! I know everyone knows how to plant seeds…but this post will have a few extra fun ideas you may haven’t thought of before. So, let’s get the science (party) started!
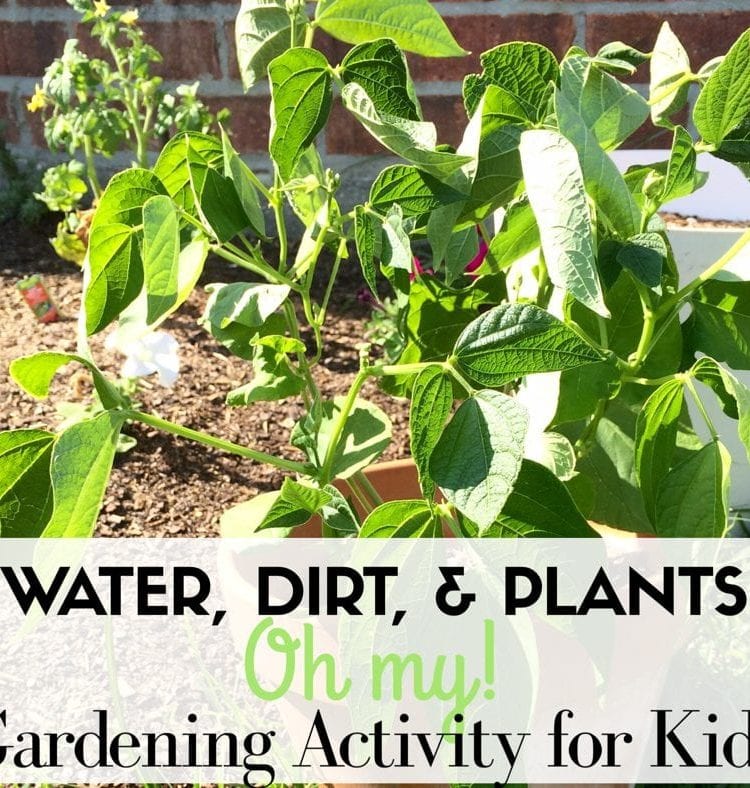
My daughter, Ryleigh, will be my Vanna White throughout this tutorial…she insists on a YouTube video. All you need is a packet of seeds, potting dirt, a pot, water, and kid(s) of course! I have found Marigolds to be great flower seeds to work with, as well as sunflower seeds. If you aren’t worried about what you are getting, a basic bird seed mix will work. Now for all those who love some good ol’ red beans. You can actually plant dry red beans and get a red bean plant (picture of our red bean plant below). My daughter loved planting red beans because she loves a good bowl of red beans and rice…man, getting hungry over here now!
For the potting dirt, can use any basic potting soil. You will need to make sure the pot you are using drains well. Now that we have the basics covered, we can get to planting. First, fill your pot with potting soil. I recommend using a measuring cup to really scoop it out of the bag. Here you could talk about the measuring cup, and how it is used for measuring. Once the pot is filled with dirt, get the kid(s) to poke a couple of holes in the dirt…like tunnels for the seeds. Your kid(s) could also just sprinkle the seeds on top, and cover with dirt later. I just find it fun to dig baby holes for the seeds.
Now to give the seeds a home! Place the seeds into the holes (1 in each hole) or sprinkle on top. Next, cover each seed loosely with soil. Once the seeds have been covered, time to water! For my kids, more always seems like the right answer. Ha! So, I filled a watering can with water for them to use…don’t want to over water the seeds. Place your newly planted seeds in a sunny spot and water and watch daily! Most seeds will start to sprout within 5-7 days. It is so much fun to see the kids’ faces when they see their seeds sprouting!
There are a few other ideas when it comes to the fun of planting seeds. Planting the seeds in clear containers makes for a cool way to view the roots. I love this clear planting window, but you can use something as simple as a clear plastic cup.
If you have older kids, you may even want to incorporate a fun worksheet that goes over the parts of a flower. This is a good worksheet to use. It incorporates cutting, glueing and coloring!
http://www.madebyteachers.com/products/373-parts-of-a-flower.html/
Have more planting ideas? I love adding to my list…so let me know what you got!
Hope the kiddos enjoy all the water and dirt ?


UPDATE:
We have red beans! We have red beans! It may not be enough to cook us a good bowl of red beans and rice, but we are getting somewhere. How did we know they were ready? As soon as the pods (look much like a green bean at the beginning) start to dry out and turn more yellow. They will even have a dry feeling to them. Pick them as soon as they begin to look like this. Then pop open the pod…there you have it, red beans! As soon as my daughter saw the red beans, her first response was ‘Can we cook these now?!’ Happy gardening (and possibly cookin’)!


