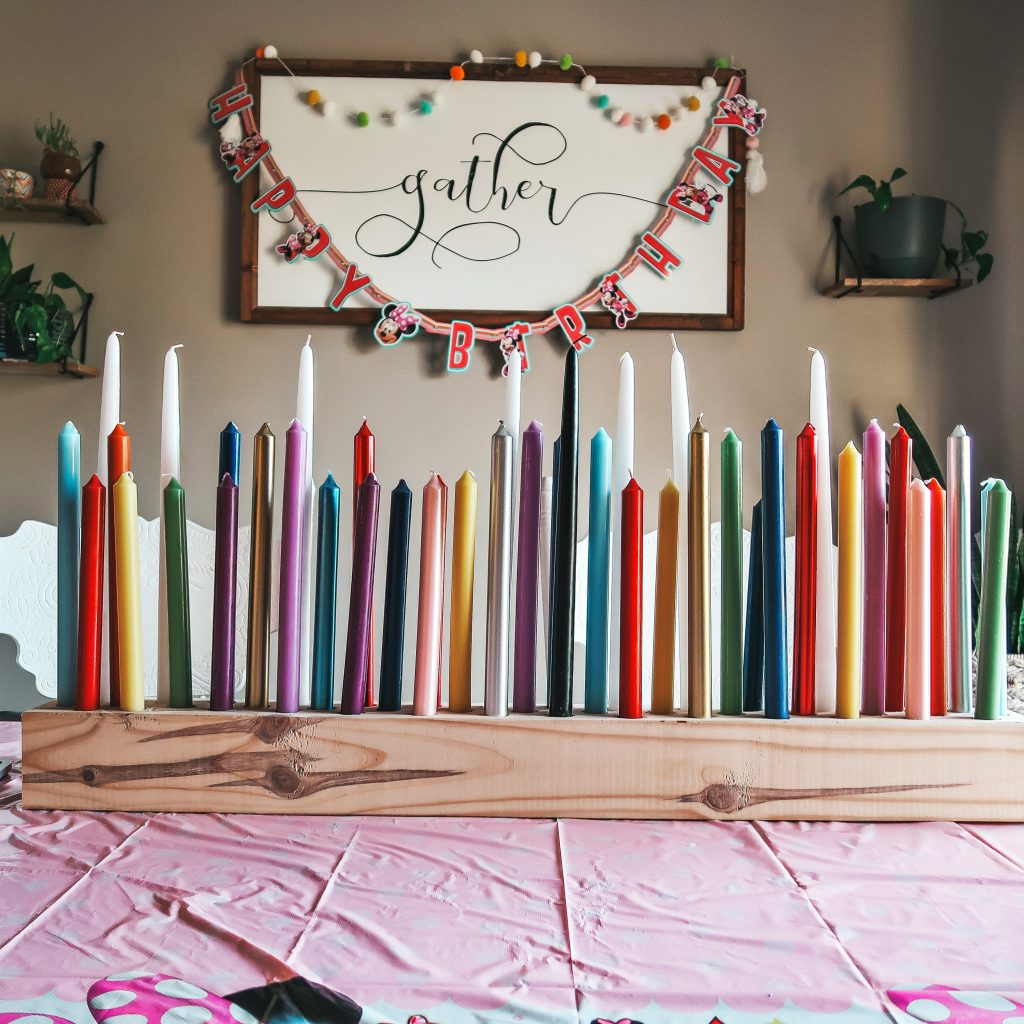
Can never have enough candles, need a wooden candlestick centerpiece.
I am all about my candles, especially during the fall holidays. The ‘spicy’ and apple smells right now are so good! The other times of the year is all the birthdays. No party celebration without the blowing out of candles. I knew their was a perfect plan for using candles for all celebrations: a wooden candlestick centerpiece.

Something about a beautiful, colorful tapered candle display.
Have y’all seen the long wooden block candlestick centerpieces? They are so pretty. These centerpieces are beautiful for all sorts of displays and can coordinate for any holiday or celebration. All you have to do is switch out the candles!


What’s even better about these wooden candlestick centerpieces is that you can make one from home with little cost. The tapered candles can be ordered online or found at Hobby Lobby. I found all of my candles from Hobby Lobby. You will find more variety and color options online though.

Easy DIY project.
I am not kidding when I say this is such an easy DIY project. We contemplated ordering one, but the cost had me wanting to attempt making my own. So glad I, well actually Kyle, made ours. See for yourself how easy it is to make a wooden candlestick centerpiece.

Here are some other easy DIY projects! https://thesoutherlymagnolia.com/how-to-build-a-planter-box/ https://thesoutherlymagnolia.com/easy-diy-halloween-diorama/ https://thesoutherlymagnolia.com/diy-paint-designed-tea-towels/
Wooden Candlestick Centerpiece

Celebrations need candles, fun and festive tapered candles. This wooden candlestick centerpiece is the perfect addition to all celebrations and even a great backdrop for year round.
Materials
- 1- 4x4x8 Yellow Pine Lumber (or other wood block of choice)
Tools
- Drill
- 3/4" Spade bit
- Miter Saw
- Sandpaper
- tape measure
- pencil
Instructions
- Purchase your lumber and make sure to have all the required equipment
- Prep the lumber by cutting the 8ft piece to 3ft with the miter saw. The long piece of lumber allows you more opportunity to choose the perfect block.
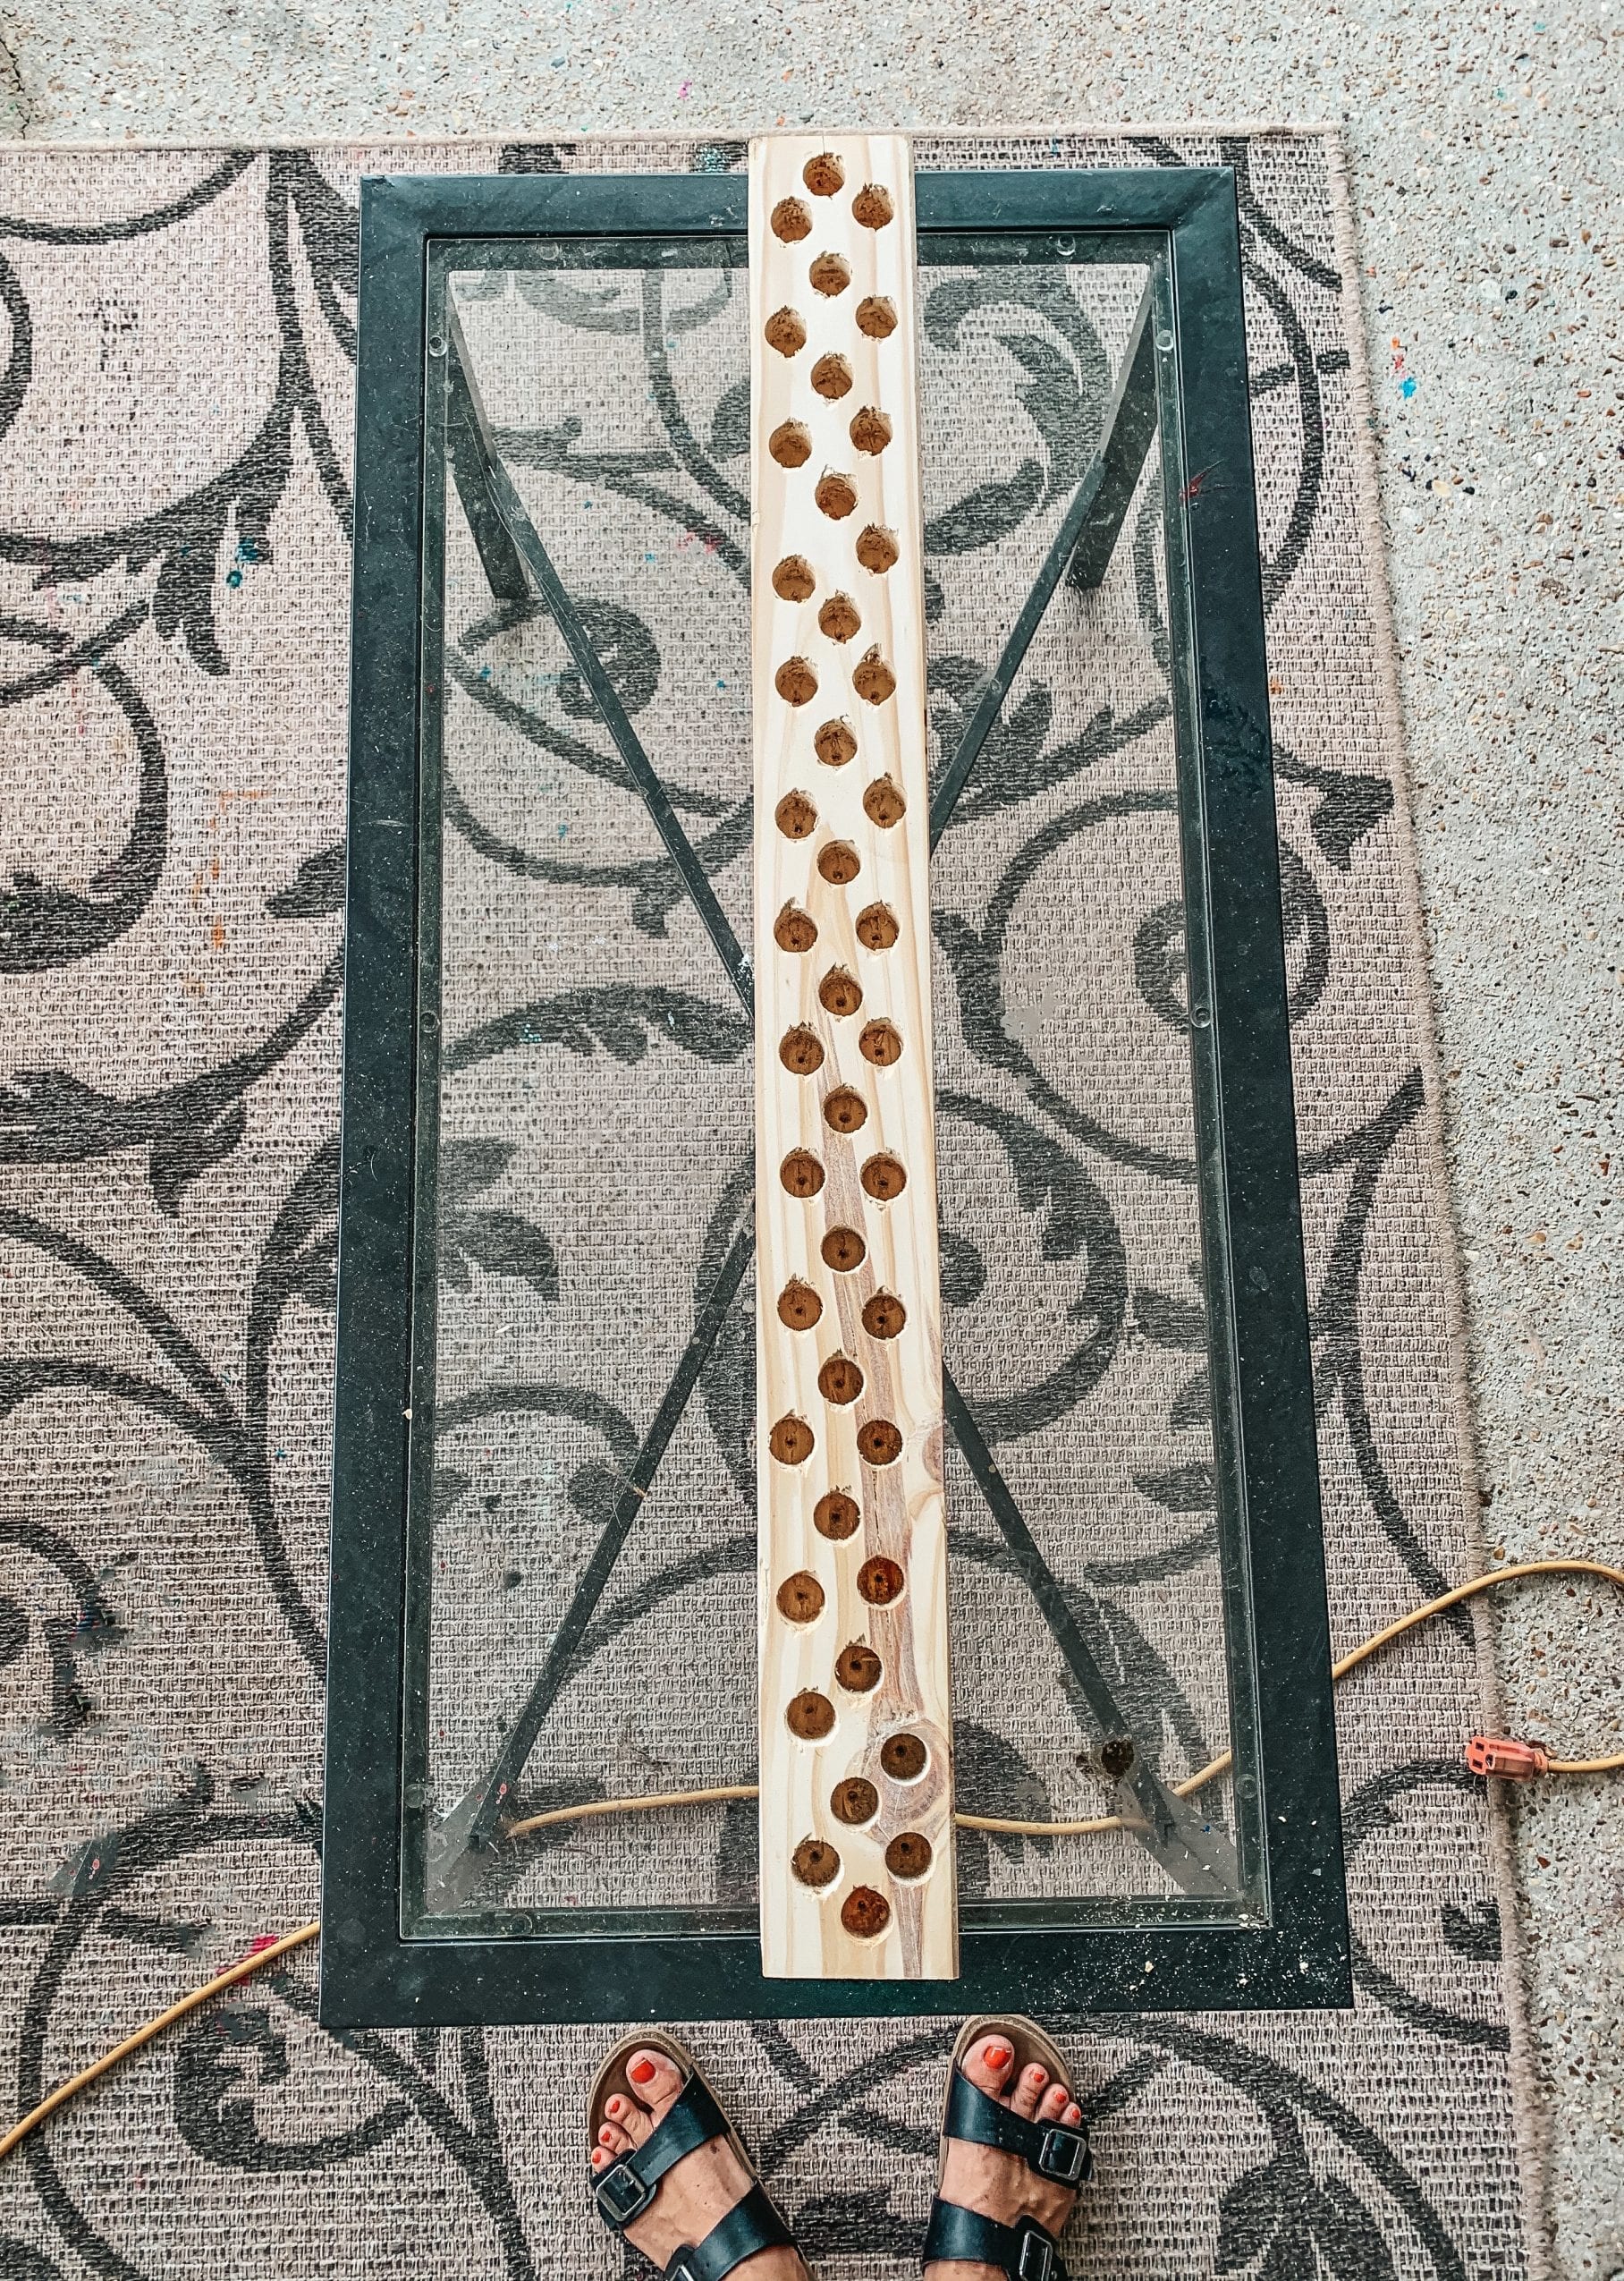
- Next, decide on candlestick layout. I used a tapered candlestick I purchased at Hobby Lobby to trace out each circle on the top of the wooden block. I came out with 42 candlestick placements.

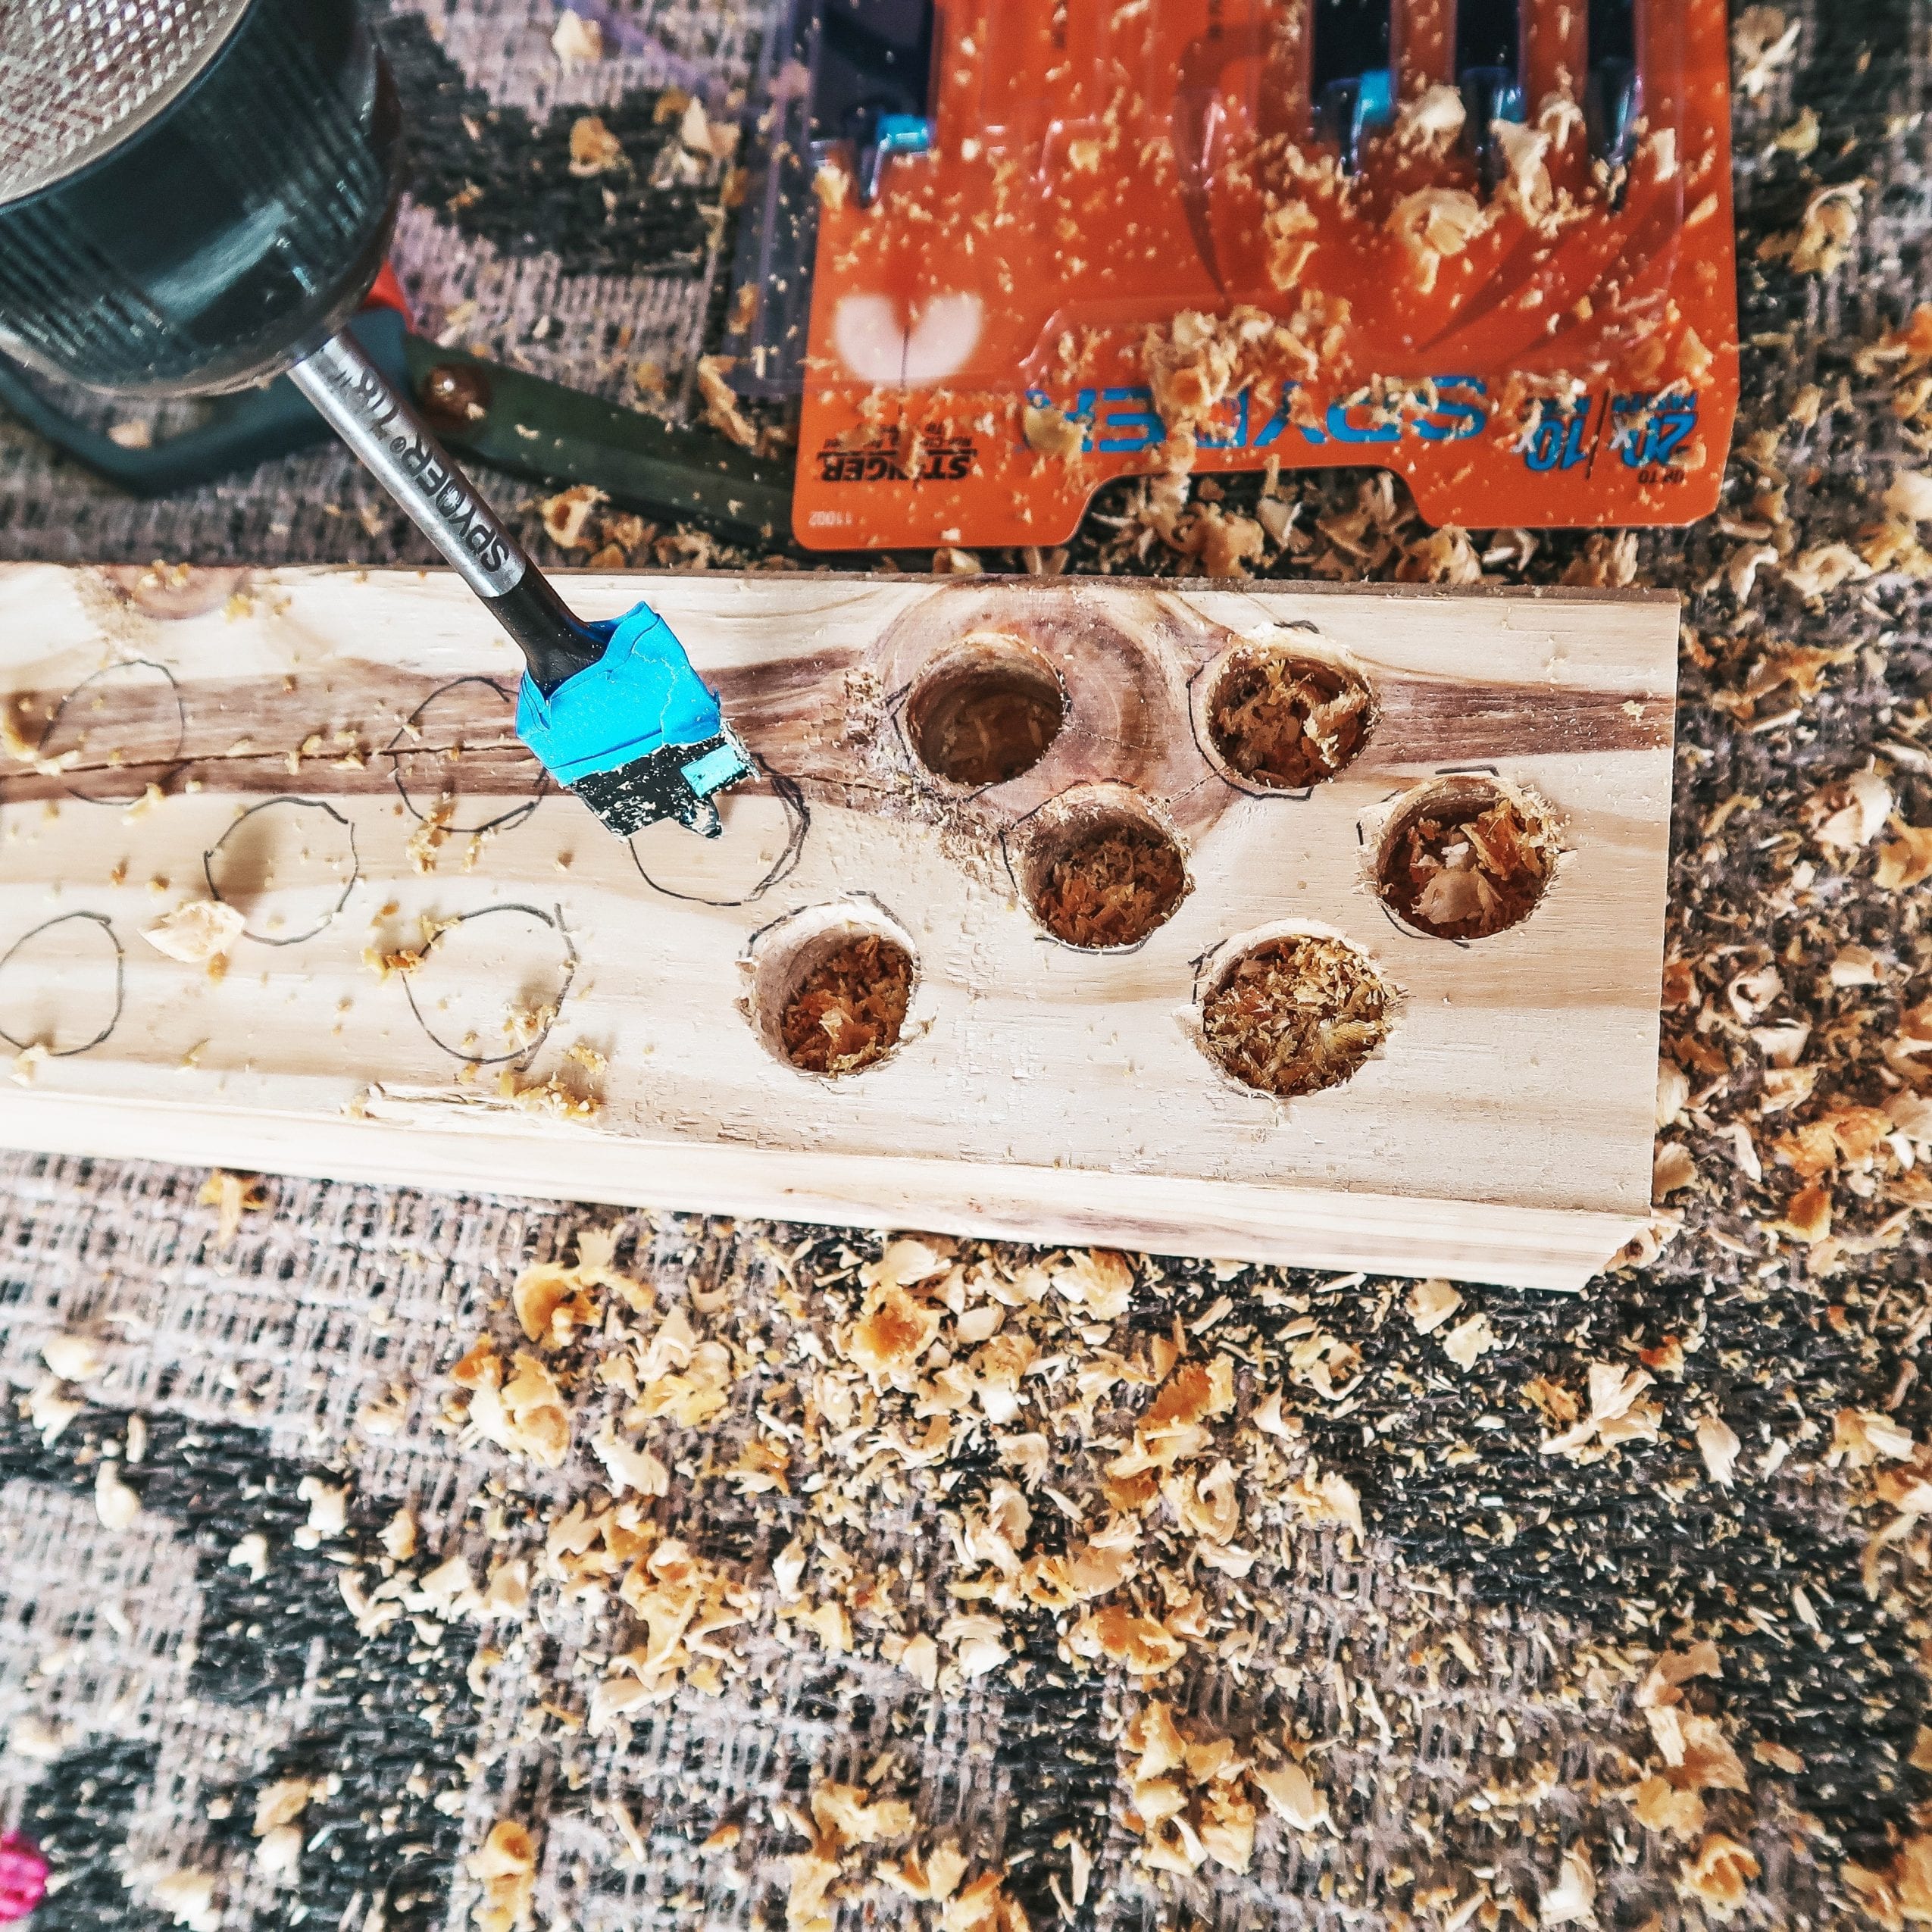
- Now to create the holes. Using the drill with the 3/4" spade bit, drill out each hole. Only go in about 2". You may want to place a candlestick into the hole to make sure the 2" depth is enough to keep the candlestick in place. We used a piece of painters tape on the spade bit to mark how far down to go into the hole. Makes the guessing game a lot easier!

- Once you have drilled out all the holes, now to sand it down. The drilling process can create some rough edges on the surface of the holes, and we don't want all of that. Sand down the top of the wooden block until it is smooth and there are no rough or jagged wood pieces.

- Find a place to put your wooden candlestick centerpiece and fill it with all those colorful tapered candlesticks! Enjoy!
Lights, camera, and candles.
I promise you will fall in love with this wooden candlestick centerpiece. You can do so much with it when it comes to holidays, celebrations, and birthdays. So many options when it comes to the candlesticks: the length and color options are endless. Plus, it is more than easy to build! I hope you all enjoy it as much as we do!
Hugs!


 Skip to Instructions
This is the coolest idea! I might have to make one of these. I love it!
My little heart just swooned! I love the multicolored tapers you used here, too!
I love this! What a warm and welcoming centerpiece! And…I think it looks easy enough to make that even I could do it 🙂
Such a nice and creative diy. Loved it x
Such a fun DIY I need to make it for my entryway table!
Oooh i love how colorful and fun it is!